
The eight districts
Cyber Surfer's highway runs through eight districts, each with its own look, weather and a twist that changes how you drive. Here's how they're put together, and how to handle each one.
How the districts work
- 800 meters each. Every district is 800 meters long, and you cross from one to the next through a tunnel. A banner tells you where you are ("Now entering…") and what the twist is.
- Always Downtown first. Every run starts in Neon Downtown. The other seven follow in a shuffled order, and you'll see all of them before any repeats.
- Night falls at the fifth. From the fifth district of a run (3,200 meters) it's night, and the banner says "Night falls". Because the order is shuffled, which districts you see at night changes from run to run.
- After the eighth. At 6,400 meters the road goes back to Neon Downtown and repeats the same order, still at night.
- Warnings. Hazards come with a warning chip on screen ("Falling rocks", "Tree down", "Sandstorm", "Ice ahead") that shows which lane they're in. No hazard is placed inside a tunnel or right at its mouth, so you always get a moment to settle in.
Some things turn up in every district: stunt sections (half-pipes, grind rails and sky lanes) every 300 to 500 meters, orange ramps every 400 to 700 (both closer together later in a run), speed cameras, and construction zones with an arrow board, a line of cones and low barriers you can hop.
Neon Downtown: rush hour
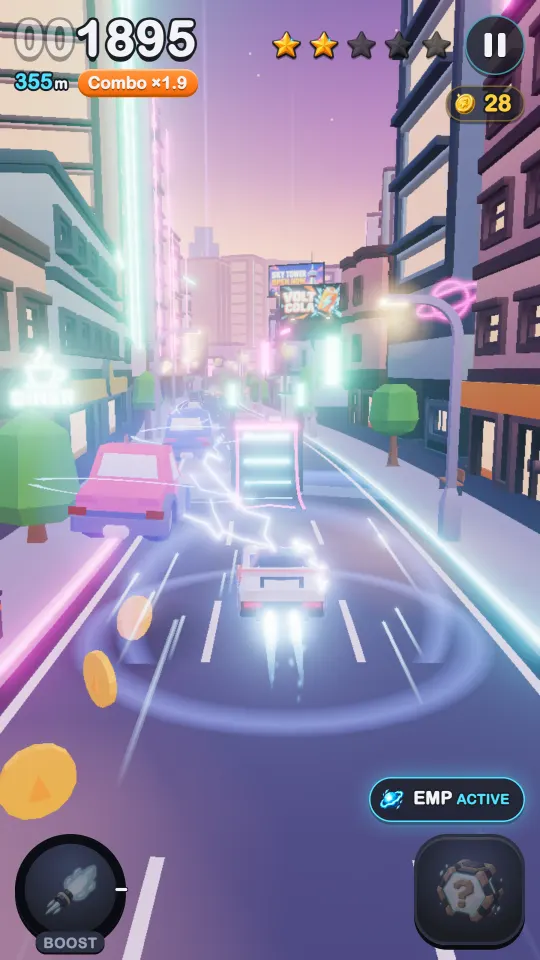
Weather: clear. Twist: rush hour.
The city where every run begins: neon towers, billboards and a lot of cars. Traffic here is 35% denser than anywhere else, so rows of cars come closer together. Since it's always your first district, the traffic is gentle to begin with, but when the road loops back here after 6,400 meters, Downtown at full speed and at night is one of the hardest stretches in the game.
How to drive it: hop more than you dodge, and look for truck convoys to ride above the crowd.
Harbor District: wet road
Weather: rain. Twist: wet road.
Cranes, ships and stacks of shipping containers line the road. The rain makes the road slippery: when you change lanes, the car slides wider and takes longer to settle into the new lane.
How to drive it: start your lane changes earlier than usual, and avoid quick back-and-forth dodges. A hop is often safer than a last-second swerve.
Desert Highway: sandstorms
Weather: dust. Twist: sandstorms.
Cacti, mesas and a power line along an open road. Two sandstorms roll in during each visit. You get a "Sandstorm" warning 150 meters ahead, then the dust closes in and you can only see a short way in front of you for a stretch of about 140 meters, before it thins out again.
How to drive it: the storm only hides the road; it doesn't add anything to it. Before it hits, pick a lane with nothing close ahead, or get onto a truck roof, and don't take chances while you can't see.
Snowy Pass: ice patches
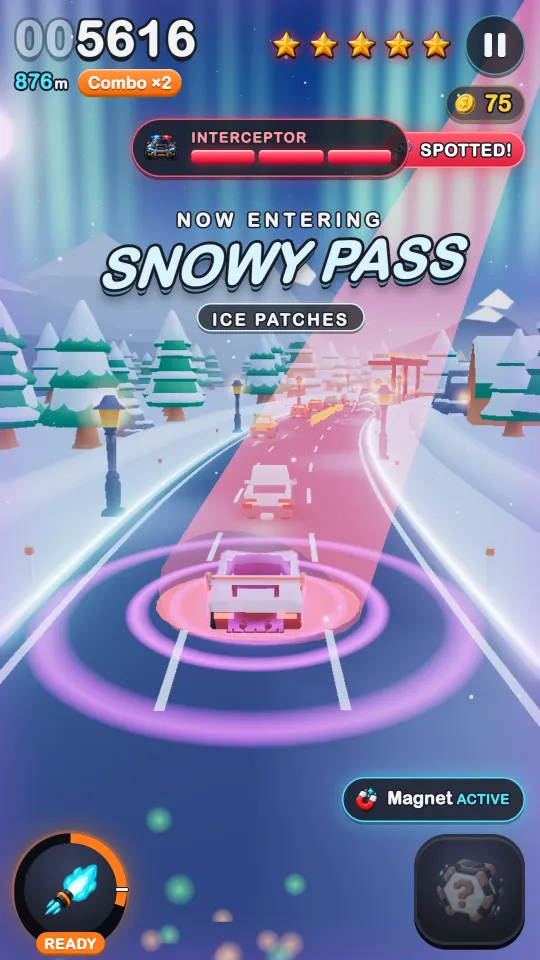
Weather: snow. Twist: ice patches.
Pine forests, cabins and snowmen. Patches of ice 12 to 25 meters long cover single lanes, every 120 to 200 meters (closer together later in a run). Ice isn't solid, so it can't wreck you, but touching it cuts your grip for over a second, and a lane change on ice slides a long way. Only the first two patches in each visit get an "Ice ahead" warning.
How to drive it: make your lane changes before or after a patch, never on it.
Volcano Road: falling rocks
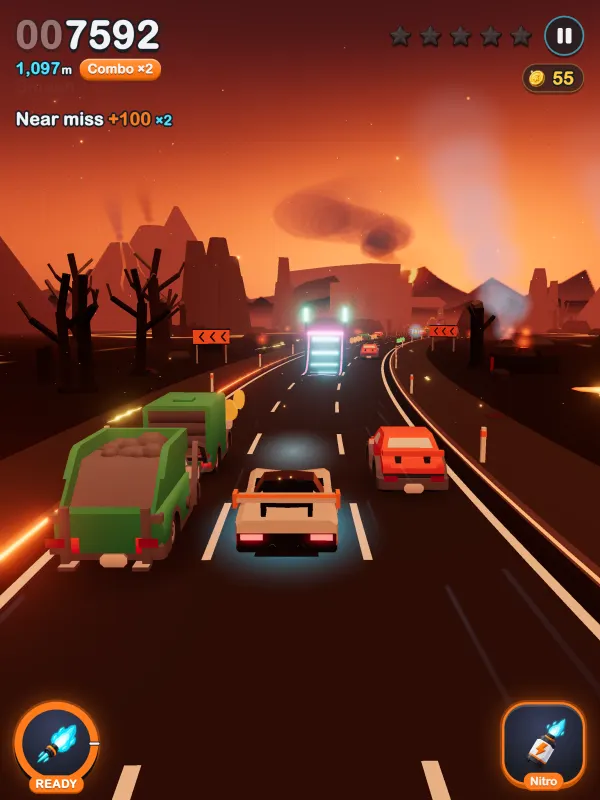
Weather: embers. Twist: falling rocks.
Lava cracks, steaming vents and basalt arches. Every 7 to 12 seconds a boulder is thrown onto the road, more often later in a run. A red target marker and a "Falling rocks" warning appear when the landing spot is about three seconds ahead, and the rock lands a second or two before you get there. Six times out of ten it aims for your lane.
How to drive it: when you see the marker, change lanes or get ready to hop. Boulders are about 1.1 meters high: you can jump them, or even land on top.
Coastal Highway: bonus coins
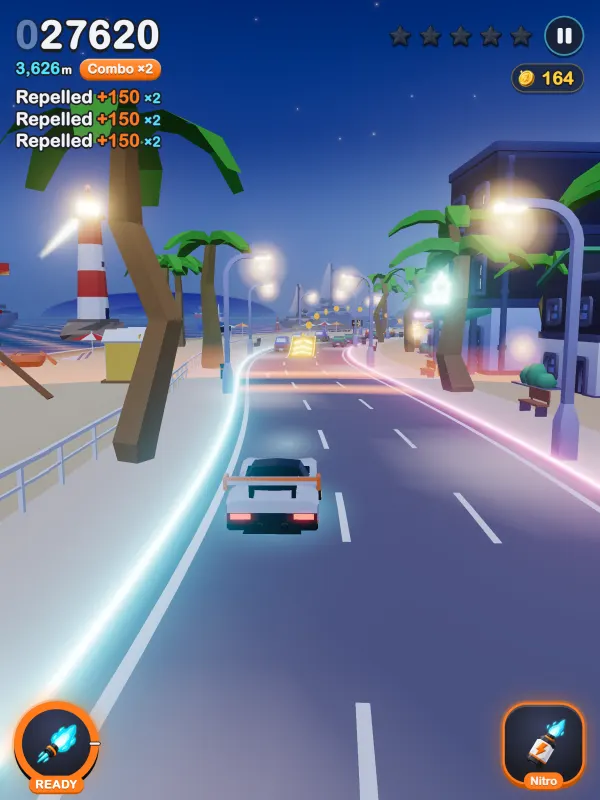
Weather: clear. Twist: bonus coins.
Beaches, piers and a lighthouse. The friendliest district: the gaps between coin patterns are less than half as long as anywhere else, and there are almost twice as many ramps.
How to drive it: this is where you fill your bank for the garage. A Magnet here is worth a lot, and the extra ramps are your chance for big trick scores.
Jungle Run: falling trees

Weather: mist. Twist: falling trees.
Ruins, temples and rope bridges in the mist. Every 8 to 12 seconds a tree topples across the road, more often later in a run. It starts to shake and the "Tree down" warning appears almost four seconds before you reach it. The fallen trunk is about a meter high, and later in a run a tree may block two lanes at once.
How to drive it: when a tree shakes, decide early: move to an open lane, or hop the trunk.
Sky Highway: low gravity
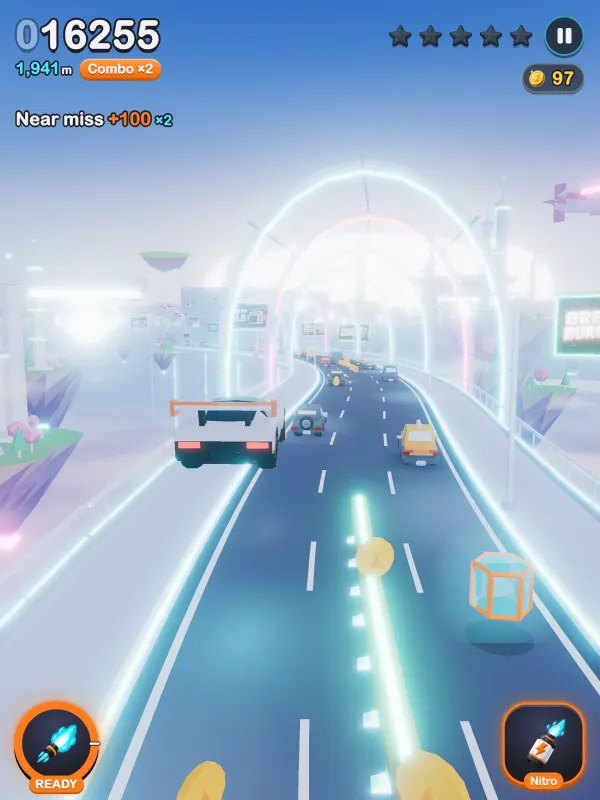
Weather: clouds. Twist: low gravity.
A bridge high above the clouds, with glass tubes, floating islands and drones. Gravity is 40% weaker here, so every jump goes higher and lasts longer.
How to drive it: this is the place for tricks. The extra air time fits more spins, rolls and kickflips into each jump (see tricks and scoring). Just remember that you also come down slower, so don't jump when you'll need to dodge right after.
Which district is hardest?
It depends less on the district than on when you reach it. The traffic gets denser up to about 2.6 kilometers, and the curves and hills get steeper until about 3.4 kilometers, so whichever districts come fourth, fifth and sixth in your run are where the game gets serious. Night from the fifth district on doesn't help.
For a strategy that works in every district, read the high score guide.